Difference between revisions of "Help"
Jump to navigation
Jump to search
| Line 28: | Line 28: | ||
[[File:StartScreen2017-07-07.png|800px]] | [[File:StartScreen2017-07-07.png|800px]] | ||
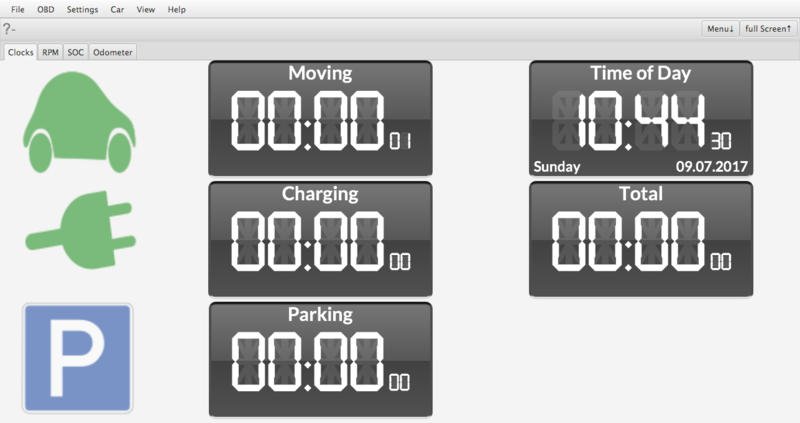
| − | = Clocks = | + | == Clocks == |
[[File:Clocks.png|800px]] | [[File:Clocks.png|800px]] | ||
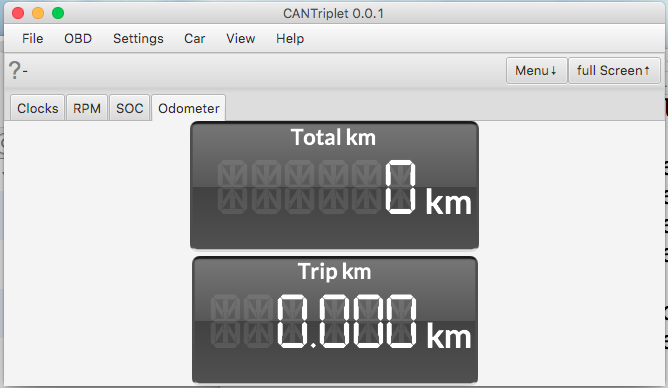
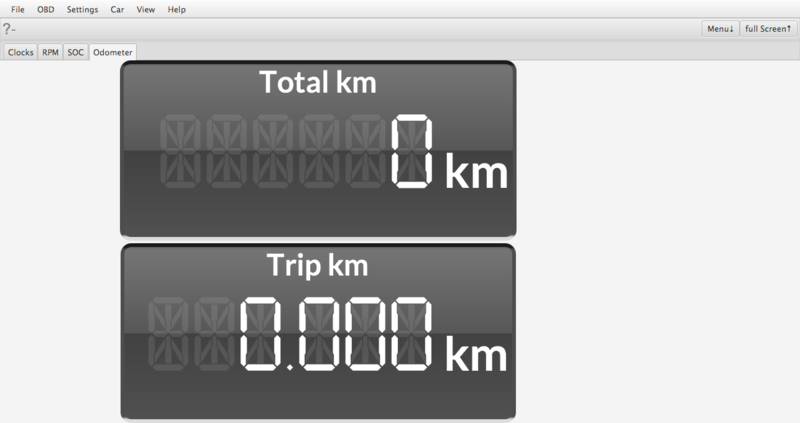
| − | = Odometer = | + | == Odometer == |
[[File:Odometer.png|800px]] | [[File:Odometer.png|800px]] | ||
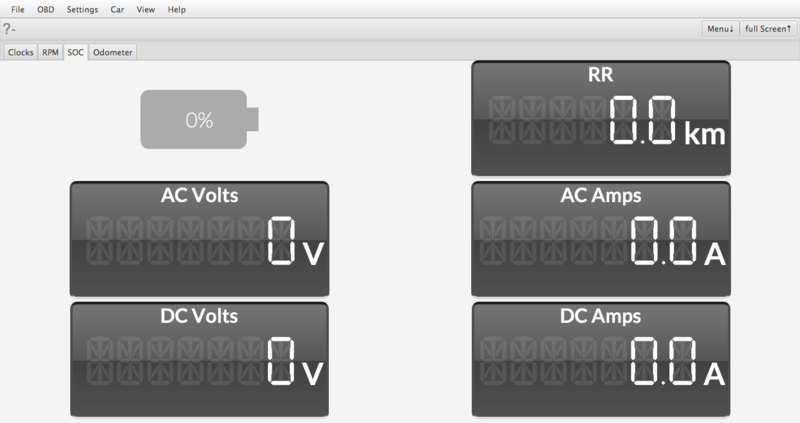
| − | = SOC = | + | == SOC == |
[[File:SOC.png|800px]] | [[File:SOC.png|800px]] | ||
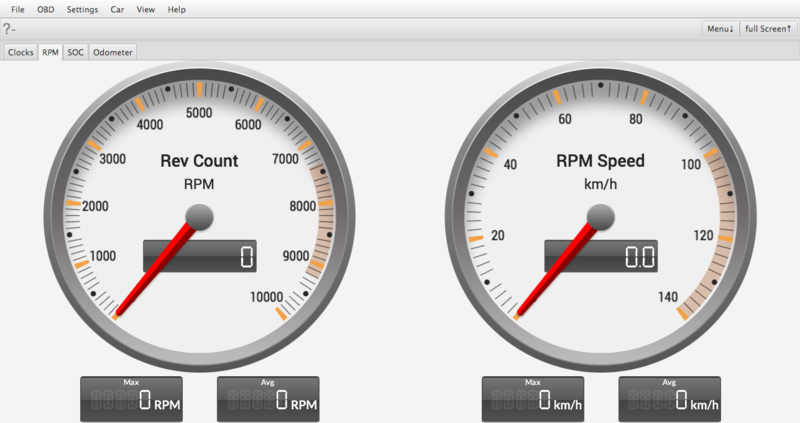
| − | = RPM = | + | == RPM == |
[[File:RPM.png|800px]] | [[File:RPM.png|800px]] | ||
| + | |||
| + | = Troubleshooting = | ||
| + | == Connection refused == | ||
Revision as of 05:27, 13 July 2017
Prerequisites
or if you'd like to build can4eve yourself:
Installation
- Download the software for your platform from Downloads
or build the software yourself
Starting
Run the software with java -jar can4eve.jar or can4eve (If you built the software yourself: cd can4eve/obdii/release before this command) The first screen should show one of the Panels shown below.
Configuring your OBD connection
Select the menu Settings/OBDII
- Network connection: Select the deviceType Network, set the hostname and port
- USB connection: Select the deviceType USB, select the serialDevice via the "..." button near the serialDevice, set the baudRate (only click direct if you are setting the baudrate via a different means e.g. stty)
- Bluetooth connection: Not directly supported as of 2017-07 - you might want to e.g. use the OBDLink_LX#Forwarding the OBDII Adapter via TCP/IP or forward via can4eve options
- Simulator connection: Select the deviceType simulator
Click "testConnection".
The result should be e.g.:
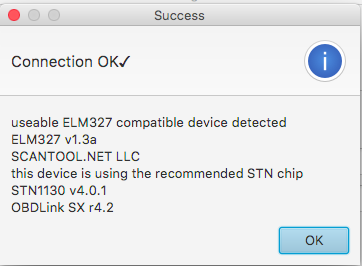
Now you should be able to use the Menu OBD/Start or OBD/Start withLog.
