Difference between revisions of "OBDLink SX"
| Line 58: | Line 58: | ||
=== Changing the baud rate === | === Changing the baud rate === | ||
see https://www.scantool.net/blog/switching-communication-baud-rate/ | see https://www.scantool.net/blog/switching-communication-baud-rate/ | ||
| − | <source lang='bash'> | + | after sending the STSBR code you might want to change the communication baud rate of minicom and check that the STI or any other command works |
| + | before saving the new baud rate with STWBR | ||
| + | <source lang='bash' highlight='2-3'> | ||
STSBR 115200 | STSBR 115200 | ||
| + | STI | ||
| + | STN1130 v4.0.1 | ||
| + | STWBR | ||
| + | OK | ||
</source> | </source> | ||
| + | |||
=== Testing with Python script === | === Testing with Python script === | ||
see {{Link|target=OBDLink_LX#Testing}} - you might want to change the script and use /dev/ttyUSB0 instead of /dev/rfcomm and optionally change the baud rate | see {{Link|target=OBDLink_LX#Testing}} - you might want to change the script and use /dev/ttyUSB0 instead of /dev/rfcomm and optionally change the baud rate | ||
Latest revision as of 13:53, 25 October 2019
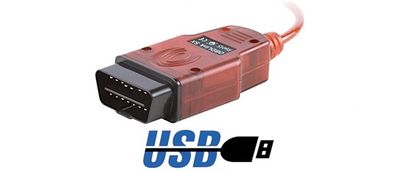
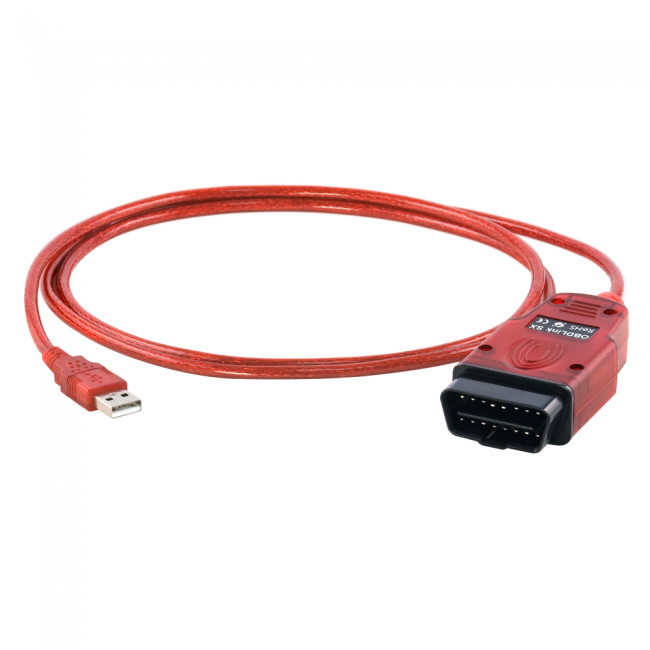
Connection: USB / Cable
This OBDII Can Bus Adapter connects to your USB port. It is a fast and very reliable way to connect to your Car.
Status
supported
Where to Buy
As of 2017-08 the device is available via amazon for some EUR 50
How to use it
Basically the OBDLink SX uses an USB to serial converter to connect your computer via USB to the ELM327 compatible chip that connects to your Car.
Usage
on Rapsberry PI
Plugin the device to the USB socket and check that it is activated
lsusb
One of the lines should show:
Bus 001 Device 005: ID 0403:6015 Future Technology Devices International, Ltd Bridge(I2C/SPI/UART/FIFO)
Indicating the use of an FTDI USB to serial converter There should also be a ttyUSBx device available
ls -l /dev/ttyUSB0
crw-rw---- 1 root dialout 188, 0 Sep  6 07:27 /dev/ttyUSB0
This device can be used for testing
Testing
If not installed install minicom
sudo apt-get install minicom
start minicom using the ttyUSBx serial device
Start minicom with the default baud rate of 115200
minicom -D /dev/ttyUSB0 -b 115200
ATD
ATZ
ATE0
ATL1
ATI
STI
The result should be:
ELM327 v1.3a
STN1130 v4.0.1
Hit enter. then cntl-A then q then enter to exit minicom.
Changing the baud rate
see https://www.scantool.net/blog/switching-communication-baud-rate/ after sending the STSBR code you might want to change the communication baud rate of minicom and check that the STI or any other command works before saving the new baud rate with STWBR
STSBR 115200
STI
STN1130 v4.0.1
STWBR
OK
Testing with Python script
see OBDLink_LX#Testing - you might want to change the script and use /dev/ttyUSB0 instead of /dev/rfcomm and optionally change the baud rate
on Mac OS X
After connecting the USB cable to your MAC you can check whether the device is visible. If you have macports/lsusb installed with the command
lsusb
Bus 004 Device 001: ID 0403:6015 Future Technology Devices International, Ltd Bridge(I2C/SPI/UART/FIFO)
otherwise/in any case
ioreg -p IOUSB -l -w 0

"idProduct" = 24597
...
"USB Product Name" = "OBDLink SX"
...
"USB Vendor Name" = "ScanTool.net LLC"
"idVendor" = 1027
Then check that the cu.usbserial device is available with
ls -l /dev/cu.usb*
crw-rw-rw-  1 root  wheel   17,   1 10 Jun 14:28 /dev/cu.usbserial-113010822821
The name of the device will depend on your environment.
From there http://pbxbook.com/other/mac-tty.html shows how you can test the connnection via a screen/minicom session. If the device at /dev/cu does not show up you might want to fix the situation - it will depend on the version of your Mac OS.
Working around a bug in Mac OSX El Capitan
There is a built in driver:
/System/Library/Extensions/AppleUSBFTDI.kext
which is the original Apple FTDI driver. You might want to reboot to activate it.
What links here
Picture
